Use your imagination and have fun!
You don't have to be an artist, you just have to want to get outside and have some fun. Snow sculpting is a great social or family event. A group can create a sculpture together and an audience can watch as you work. The lifetime of snow art depends on the weather, but we'll be taking pictures of your masterpiece at its best!
Dress warmly
Stay warm and dry with a warm coat, snow pants and hat. Bring spare mittens and gloves. Rubber gloves will help keep your hands dry, and some sculptors like to wear knee pads for comfort while carving. Sunscreen on your face is a good idea.
Have a plan
Search your computer or books or magazines to get ideas. Pick one and bring a picture of it, or make a sketch and bring that. It will help you stay on track, especially if it's a group project. Fun and easy is best for first-timers!
Prepare your snow
Shovel the snow you think you might need into a mound. Stir it up a bit to warm the snow and remove excess ice chunks so it's easier to work with. We're all sharing the available snow, so please just shovel up as much as you'll need.
Create a strong foundation
To make the foundation, use your hands to pack each layer of snow down hard before adding more. A strong base will keep your design from collapsing. Sometimes sculptors pack the snow into a cardboard box and then remove the box and carve away the extra snow.
Carve your sculpture
Remove the excess snow to make a rough outline of your basic shape. First start carving snow away at the top on the more fragile parts, then work toward the bottom. Have fun finding tools to carve and decorate your masterpiece. How about -- garbage can lids, milk cartons, spatulas, chisels, ice cream scoops, you name it!
The finer points
You can spray small amounts of water onto snow so it easily clumps together
in your hands, then use it to build up parts of your sculpture.
- Try putting some water into a spray bottle and spritzing the snow.
- We've got spray bottles at the registration booth for you to borrow.
You can also use wet slush as 'glue' to attach additions to your sculpture.
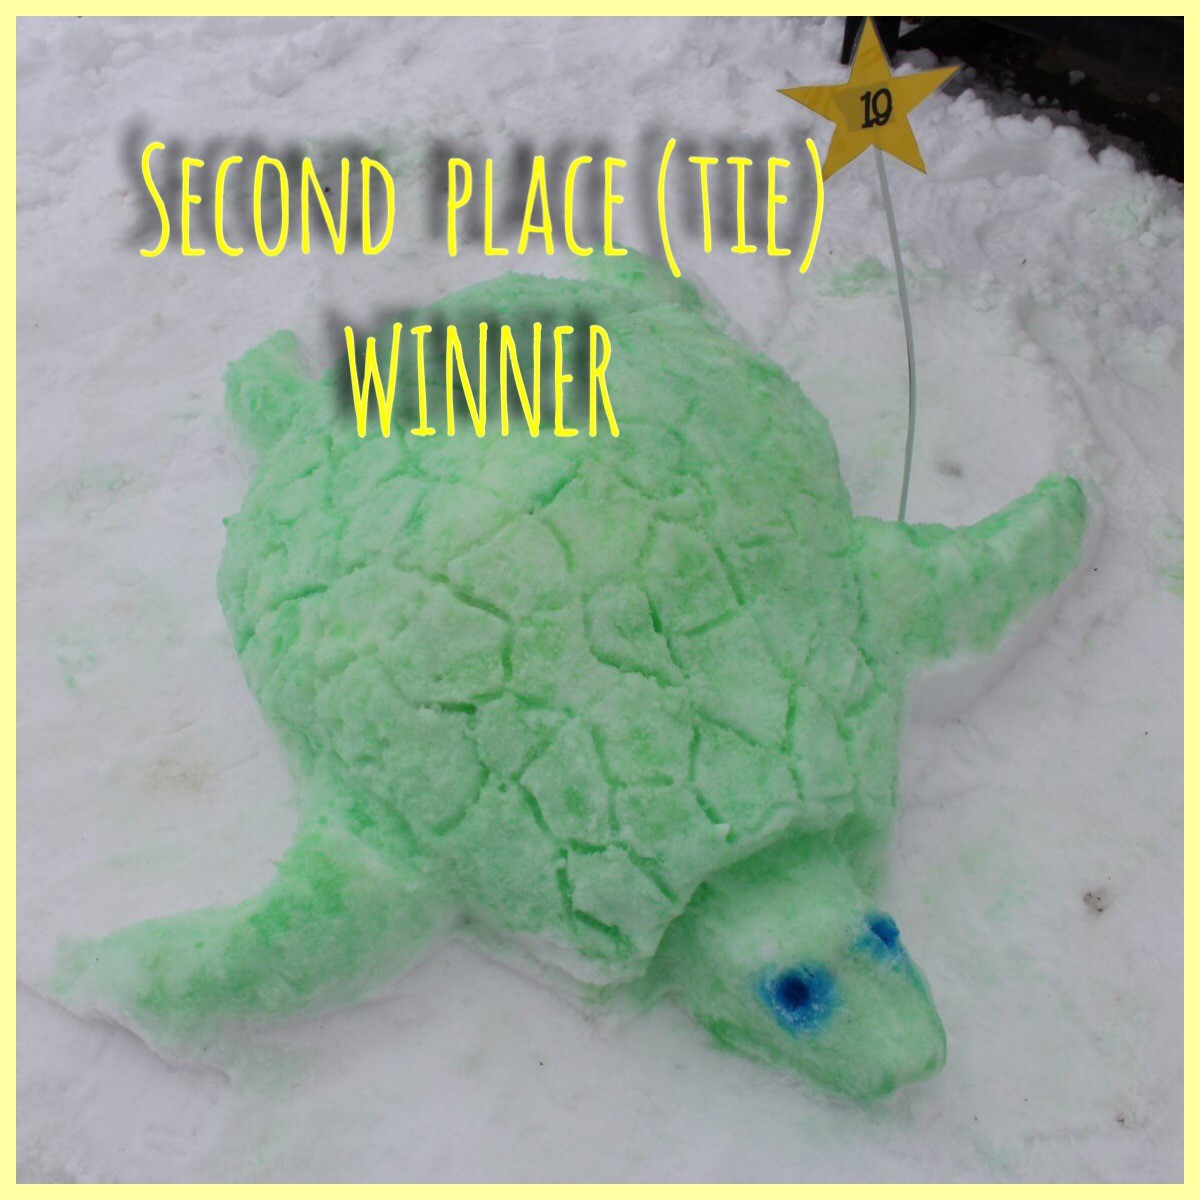
To colour or not to colour?
If you want to add colour to your snow sculpture, just mix food colouring with water and spray or pour it on. It might take several coats -- and could make it melt faster. When your snow sculpture is finished, you can lightly spray water all over your masterpiece to glaze it.


